
How to Use a Foam Roller: A Myofascial Release Guide
We answer how to use a foam roller with technique by area, timing advice and common mistakes. Myofascial release is a practical tool before and after training.
Do your legs feel like stone after training? The right answer to how to use a foam roller is not just rolling on it; it is a technique that varies with the area, the level of pressure and the duration. This tool helps reduce muscle tension and support range of motion through myofascial release, which targets the muscle and the connective tissue around it (fascia). In this article we cover area-specific techniques, the right duration and pressure, and common mistakes.
What is myofascial release?
Fascia is the network of connective tissue that surrounds muscles, bones and organs. Intense training, long periods of inactivity or repetitive movement patterns can create areas of tension in this tissue (often called trigger points). Pressure applied with a foam roller creates a feeling of relief by temporarily increasing blood flow in these areas and sending a relaxation signal to the nervous system. This effect rests on a general physiological mechanism; if you have serious muscle or joint pain, it is important to consult your doctor first.
Choosing the right foam roller
| Style | Firmness | Who it suits |
|---|---|---|
| Smooth, soft surface | Low | Beginners, sensitive areas |
| Smooth, medium firmness | Intermediate | General use |
| Textured | Medium-high | Experienced users, those wanting deep release |
| Vibrating roller | Adjustable | Those seeking an extra relaxing effect |
General principles of use
- Rolling for 30-60 seconds on each area is enough; there is no need to stay on the same spot for minutes.
- When you find a tender spot (trigger point), holding steady pressure there for 15-30 seconds and taking deep breaths can be more effective than classic rolling.
- Bony prominences and joints (back of the knee, lumbar vertebrae) should not be worked directly with a foam roller.
- Breathing slowly and regularly instead of holding your breath supports the relaxing effect.
Step by step: calves and hamstrings
- Sit on the floor and place the foam roller under your calves.
- Support your body by placing your hands behind you and lift your hips slightly off the floor.
- Roll slowly from the knee toward the hips, pausing 15-30 seconds on tender spots.
- Repeat the same movement for the hamstrings (back of the thigh).
- Spend 1-2 minutes in total on each leg.
Modification: If carrying your full body weight feels hard, you can reduce the pressure by leaving one leg on the floor and crossing the other over it.
Step by step: upper back
- Place the foam roller on the upper back, at shoulder blade level.
- Bend your knees with your feet flat on the floor and clasp your hands behind your neck (the head is supported).
- Lift your hips slightly off the floor and roll slowly along the upper back.
- Avoid the lumbar spine; focus only on the area between the shoulder blades.
- Apply for 1-2 minutes.
Note: The lumbar spine (lower back) should not be worked directly on the foam roller; nerve roots and vertebrae are sensitive in this area.
Technique summary by area
| Area | Duration | Caution |
|---|---|---|
| Calves | 1-2 min/leg | Avoid the back of the knee |
| Hamstrings | 1-2 min/leg | Exclude the area under the glutes |
| Glutes | 1 min/side | Can be deepened by crossing the leg |
| Upper back | 1-2 min | Avoid the lumbar spine |
| Lats (side torso) | 1 min/side | Move slowly over the ribs |
When to use it: before or after training?
Before training, short (30-60 seconds per area), light-pressure foam rolling aims to wake up the muscle tissue as a support to the dynamic warm-up. After training, longer and deeper-pressure application is used as a tool that supports recovery. Since the purposes of the two uses differ, it is important to adjust duration and pressure accordingly.
Common mistakes
- Rolling too fast: Fast movement does not give the tissue the time it needs to relax; slow, controlled movement is more effective.
- Applying direct pressure on joints and bones: Areas such as the back of the knee and the lumbar vertebrae should not be worked directly with a foam roller.
- Persisting despite pain: Tenderness is normal, but when sharp or increasing pain is felt, pressure should be reduced or the area changed.
- Focusing only on the legs: The upper back, hips and shoulder area also benefit from regular release; limiting yourself to popular areas reduces the benefit.
Who should be careful
A foam roller must never be used over a region with a history of deep vein thrombosis, severe osteoporosis, an open wound or recent surgery. In conditions such as chronic joint problems and disc herniation, always consult your doctor or sports physiotherapist about which areas can be worked safely. If there is an acute injury (recent, with swelling), you should wait until the initial phase of healing has fully passed before using a foam roller on that area.
Foam rolling versus static stretching
Unlike static stretching, which lengthens the muscle passively, a foam roller works by applying pressure directly to the tissue. The two are not interchangeable; in many recovery programmes foam rolling comes first, followed by static stretching, because relaxed tissue usually responds better to stretching. Those who want to learn mobility work more comprehensively can join our Mobility & Stretching class.
Weekly usage schedule
| Day | Use |
|---|---|
| Training days | Short (5 min) before, medium (10 min) after |
| Rest days | 10-15 minutes of full-body release |
| After a heavy leg day | An extra 5 minutes on calves and hamstrings |
How do you measure progress?
The most practical way to measure the effect of foam rolling is to compare the level of tenderness in the same area over several weeks. A spot that is very sensitive at the start can become noticeably less uncomfortable with regular, consistent use. A gradual increase in range of motion in stretching or mobility movements is also an indirect but reliable sign of progress.
Equipment and studio use
A foam roller is usually found in functional training and mobility areas; getting your own roller is a practical investment for regular use at home. At O'Wellness Beytepe, you can ask our trainers about using the release equipment in the functional zone and the O'Soul studio before and after training. You can also ask for brief guidance on correct technique when needed.
Combining with other recovery methods
A foam roller is not a recovery strategy on its own but part of a wider programme. Enough sleep, hydration and low-tempo classes such as Deep Stretch Yoga reinforce the effect of foam rolling. Since there is no pool in Beytepe, those who prefer water-based movement can consider another facility in Ankara.
Mobility and recovery options in Beytepe
In addition to mobility work, O'Wellness Beytepe offers recovery options such as the Mobility & Stretching class, Deep Stretch Yoga and the Sports Physiotherapist. Using these options together with foam rolling after intense training forms a holistic and sustainable approach that supports muscle recovery.
Level and variation suggestions
For beginners, a soft-density roller and short (30-second) applications are recommended; as the tissue gets used to this kind of pressure, you can move to medium or textured rollers. Experienced users can increase pressure by shifting weight onto one leg (for example by crossing one leg over the other while working the calf). If carrying full body weight is hard, pressure can be adjusted gradually by leaning against a wall or taking support with the hands.
Foam roller or ball?
While a foam roller suits large muscle groups (calves, hamstrings, back), a small massage ball (such as a lacrosse ball) is preferred for reaching more specific and deeper spots such as the sole of the foot, the deep hip muscles and the shoulder area. Using both tools together covers both broad and localised areas of tension thoroughly; for example, a foam roller for the legs and a small ball for narrow areas such as the sole of the foot or under the shoulder blade.
Step by step: glutes
- Sit on the foam roller and take support by placing your hands behind you.
- Bend one leg and place the ankle over the opposite knee (figure-four position).
- Shift your weight to the hip of the crossed leg and roll slowly.
- When you find a tender spot, apply steady pressure for 15-30 seconds.
- Stay on this area for 1 minute before switching sides.
Modification: If balance is hard to hold, you can increase support by placing your hands wider behind you or planting your feet more firmly on the floor.
Priority areas by type of training
| Training type | Priority area |
|---|---|
| Running / cardio | Calves, hamstrings, glutes |
| Upper-body strength | Upper back, lats, shoulder area |
| Reformer / pilates | Glutes, muscles around the lower back (excluding the lumbar spine) |
| Yoga / mobility | General full body, especially hips and shoulders |
The effect of warmth and timing
Using a foam roller after a warm shower or a light warm-up movement can make the application more comfortable because the muscle tissue is more pliable. Intense pressure on cold muscles can cause more discomfort in some people. For that reason, if possible, it is preferable to do the application not with a completely cold body but after a few minutes of light mobility (marching on the spot, swinging arms and legs); this small preparation can give you more relief from the same level of pressure.
Frequently asked questions
Can a foam roller be used every day?
Yes, daily use is generally safe; however, avoid excessive pressure on the same area and rest the area if you feel sharp pain.
Is it normal to feel pain when using a foam roller?
Mild discomfort or a good-hurt feeling is normal; sharp, stabbing or increasing pain is not, and you should reduce the pressure or stop.
Does a foam roller completely relieve muscle soreness (DOMS)?
It does not remove it completely, but regular use is generally reported to help ease the severity of delayed onset muscle soreness.
What can I do to learn correct foam roller use in Beytepe?
Our trainers and Sports Physiotherapist service at O'Wellness Beytepe can show you foam roller techniques individually; our Mobility & Stretching classes also offer practical knowledge on this.
Which areas should I avoid with a foam roller?
Joint areas such as the lumbar spine, neck, knees and elbows, bony prominences and areas with an open wound or swelling should not be worked directly with a foam roller.
To learn foam roller and mobility techniques correctly, fill in the contact form and we can plan an individual assessment for you.
Related posts
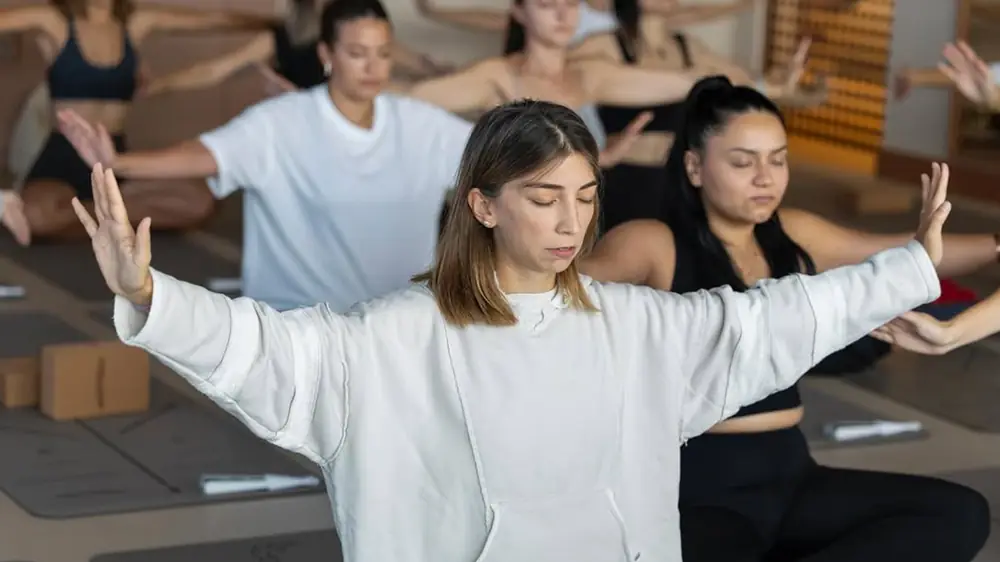
Yoga for runners: hip flexors and hamstrings
Yoga poses that balance the one-directional load of running, the right timing before and after runs, and tips for weaving them into your week.
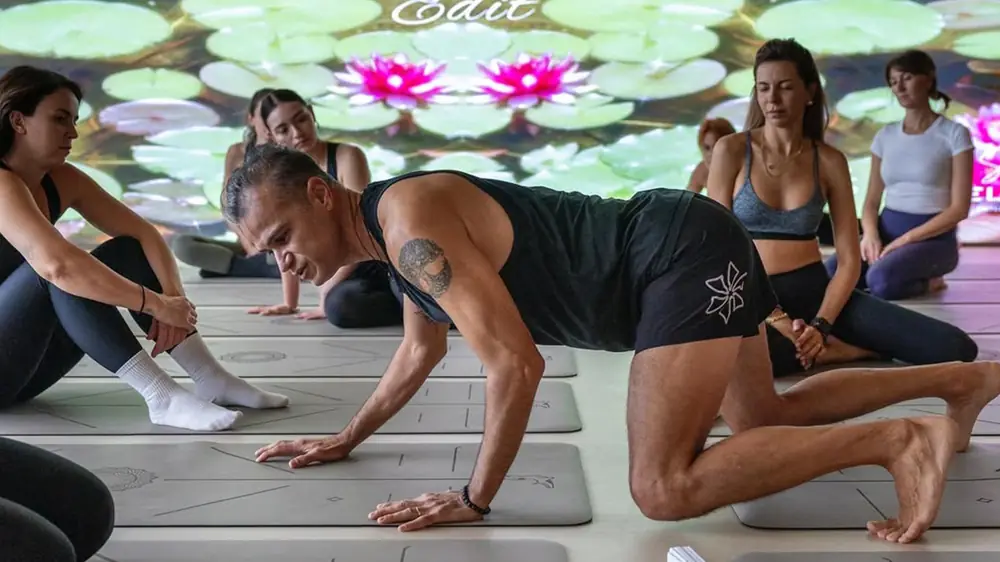
Meditation and Mindfulness: How They Affect Your Fitness Performance
Mental focus and breath control are as much a part of performance as muscle strength. We explain how to add meditation and mindfulness to your weekly training.
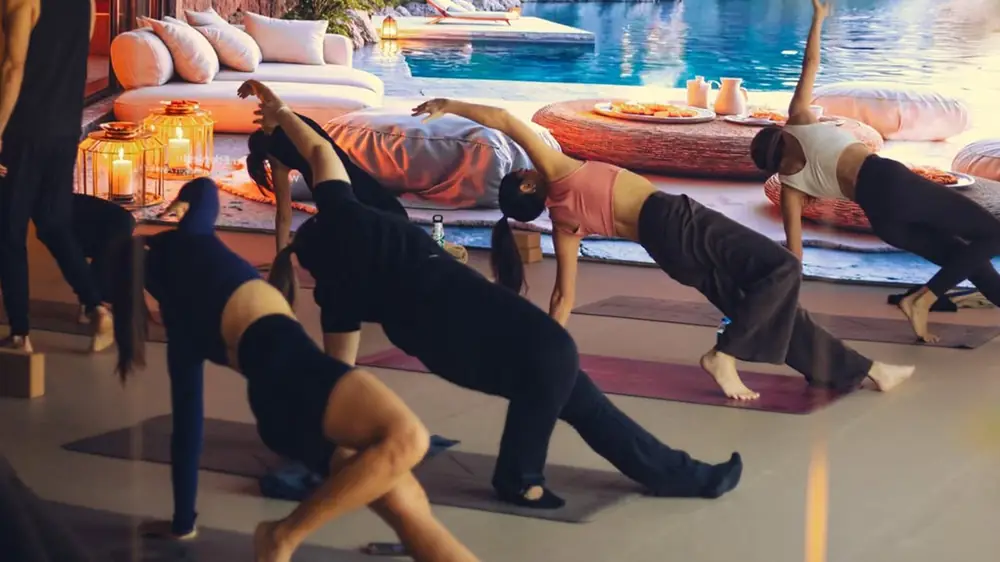
Balance Poses in Yoga: Building Focus and Stability with Tree, Warrior 3 and Eagle
Standing on one leg trains mind and body at once. We explain how to build balance poses safely and enjoyably, starting from beginner level.
