
Sun Salutation (Surya Namaskar) Step by Step: A Safe Flow for Beginners
The sun salutation is yoga's best-known flow, working the spine, hips, shoulders and breath in a single sequence. This guide walks through the 12 poses in order with safe modifications.
Most people who walk into a yoga studio for the first time see everyone fold forward, arch back and move into a plank at the same moment. That flow is called Surya Namaskar, the sun salutation. It appears as a warm-up or backbone in almost every Vinyasa and Hatha class. Its appeal is that a single sequence moves the spine in every direction, opens the hips and shoulders, and ties breath to movement.
In this article we cover the flow in 12 steps, with breath pairing and the typical mistakes at each one. The goal is to give you a clear mental map before your first class. The content is informational; if you have pain, an injury history or a chronic condition, consult your doctor before starting.
What is the sun salutation, and why is it everywhere?
Surya Namaskar is a classic series of linked poses synchronised with breath. Traditionally it greets the morning sun; in modern studios it warms the body and prepares it for the rest of the class. One round moves the spine forward and back, lengthens the hip flexors and hamstrings, and loads the shoulder girdle in supported positions.
Another reason it is so common is that it scales. The same flow can be done slowly with short holds by a beginner, or with faster and stronger variations by an experienced practitioner. Once you learn it in class, you also have a ready template for a five-minute practice at home.
Before you start: breath and preparation
The basic rule of the flow is that breath leads movement. In general you inhale as the spine lengthens and the chest opens, and exhale as you fold forward and the torso closes. Do not force the breath; breathe in and out through the nose, calm and even. If the breath shortens or your throat tightens, the pace is too fast for you, so slow down a step.
- Choose a non-slip mat and flexible clothing that lets you move freely.
- Wait at least two hours after a meal so folding forward does not upset your stomach.
- Prepare your wrists, shoulders and neck with one or two minutes of gentle circles.
- If you have a restriction at the knees, wrists or shoulders, tell your instructor before class.
The flow in 12 steps
The sequence below is a simplified version of the widely taught Surya Namaskar A. Studios and schools vary in small ways, so follow your instructor's cues in class.
- Tadasana (mountain pose): feet hip-width apart, weight even on both feet, palms together at the chest. Exhale.
- Urdhva Hastasana (upward salute): inhale and reach the arms overhead, looking slightly up.
- Uttanasana (standing forward fold): exhale and fold from the hips, bending the knees if needed.
- Ardha Uttanasana (half lift): inhale and lengthen the back, fingertips on the floor or shins.
- Transition to plank: exhale and step or walk the feet back, shoulders stacked over the wrists.
- Chaturanga (low plank): exhale and bend the elbows close to the torso; lower the knees if it is too demanding.
- Urdhva Mukha Svanasana or Bhujangasana (upward dog or cobra): inhale and open the chest.
- Adho Mukha Svanasana (downward dog): exhale, lift the hips up and back, and bring the heels toward the floor.
- Stay five breaths in downward dog; lengthen the spine and keep the neck relaxed.
- Bring the feet between the hands: inhale as you walk or hop forward and lift into a half lift.
- Return to Uttanasana: exhale and fold again.
- Inhale as you slowly rise with arms overhead, then exhale and bring the palms together in Tadasana.
Common mistakes at each stage
As the flow speeds up, form slips easily. The most common issue is rounding from the lower back in the forward fold and loading the spine harshly. The fix is simple: bend the knees and start the fold from the hips. If your hamstrings are short, that is completely normal, and bending the knees keeps you safer.
The second big mistake in Chaturanga is shrugging the shoulders toward the ears and flaring the elbows. Stop before the shoulders drop below elbow height; if strength is limited, keep the knees down, or move from plank to a knees-chest-chin variation. In cobra and upward dog, keep the neck long rather than collapsing it backward, and focus on opening the chest rather than cranking the lower back.
| Step | Common mistake | Fix |
|---|---|---|
| Uttanasana | Rounding from the lower back | Bend the knees and fold from the hips |
| Plank | Hips sagging | Draw the belly in slightly, reach back through the heels |
| Chaturanga | Collapsing shoulders | Lower the knees, keep elbows close to the torso |
| Cobra / Dog | Throwing the neck back | Keep the gaze forward, open the chest |
| Aşağı bakan köpek (downward dog) | Rounded spine | Bend the knees, press the hips up |
Modifications for beginners
You do not need to do every part of the flow in full from day one. The most important modification is keeping the knees down to ease the plank and Chaturanga section. Choosing cobra over upward dog reduces load on the shoulders and wrists. Stepping the feet forward one at a time instead of hopping protects both the back and the breath rhythm.
- If your wrists are sensitive, place a folded towel under the palms or support yourself on fists.
- In downward dog the heels do not need to touch the floor; hamstring flexibility comes with time.
- Start with slow single rounds; three to five rounds are plenty for the first weeks.
- If you feel dizzy, rest in child's pose.
How to use the sun salutation in a weekly practice
A good start is three days per week, three rounds each time. After a month you can build to five rounds, and after two months to six. Quality matters more than count; a handful of rounds with synchronised breath and movement is worth far more than a hundred rounds with broken form. If you lift weights, you can use the series as a warm-up on training days and as a light mobility practice on rest days.
The yoga classes planned for O'Soul will cover Vinyasa, Deep Stretch and Balanced Yoga formats, and the sun salutation appears at the start of several of them. Since the club is still at the opening-soon stage, the weekly schedule and class times will be announced closer to launch.
Who should be careful with the sun salutation?
The flow is generally suitable for healthy adults, but in some situations it needs modification or a doctor's input beforehand. Acute back or neck pain, high blood pressure, glaucoma, vertigo, wrist or shoulder injury and pregnancy are the main ones. Forward folds and head-down positions may require substantial changes in these groups.
If any of these apply, consult your doctor and always tell your instructor. If needed, you can also consider one-to-one support options under Personal Services. If pain, numbness or tingling appears, stop the movement; in yoga the goal is listening, not forcing.
Complementary work to improve your sun salutation
The quality of the flow depends on a few base capacities: wrist and shoulder endurance, hamstring flexibility and abdominal control. Plank holds, wall push-ups and cat-cow develop these foundations at a calm pace. Foundational work in our strength and cardio area will also support shoulder-girdle endurance.
A short checklist before your first class
When preparing for your first class, do not try to memorise the poses; focus on three things instead: breath rhythm, soft knees and a comfortable pace. Watching the instructor demonstrate the flow is far more effective than reading a description. Rather than comparing yourself with others, stay within the edges of your own mat and treat the first weeks as a learning period.
Lying in Savasana for a minute or two after class helps settle the effect of the flow on your nervous system. Mild muscle tenderness the next day is normal; sharp or lingering pain is a warning. Keeping brief notes shows which poses challenge you and makes it easier to talk with your instructor next time.
How many rounds of sun salutation should I do per day?
Three to five rounds are enough for beginners. You can build gradually, but stopping when form starts to slip is the best approach. If you have pain, consult your doctor.
Does the sun salutation help with weight loss?
On its own it does not burn a large number of calories, but done regularly it supports a movement habit, flexibility and daytime energy. For weight management, nutrition and overall activity matter most.
Is morning or evening better?
Morning wakes up the body; a slow evening version helps release the tension of the day. The best time is whichever you can sustain.
I have wrist pain, can I still do it?
You can swap the plank and dog sections for fist, forearm or wall variations. If pain persists, consult your doctor first.
Should I hop or walk between poses?
For beginners, stepping one foot at a time is safer. Hopping can be added optionally as strength and control develop.
The sun salutation can be learned quickly yet deepens for years. Start slowly, listen to the breath, do not hesitate to bend your knees, and measure progress day by day. You can contact us for a founding membership pre-registration before opening.
Related posts
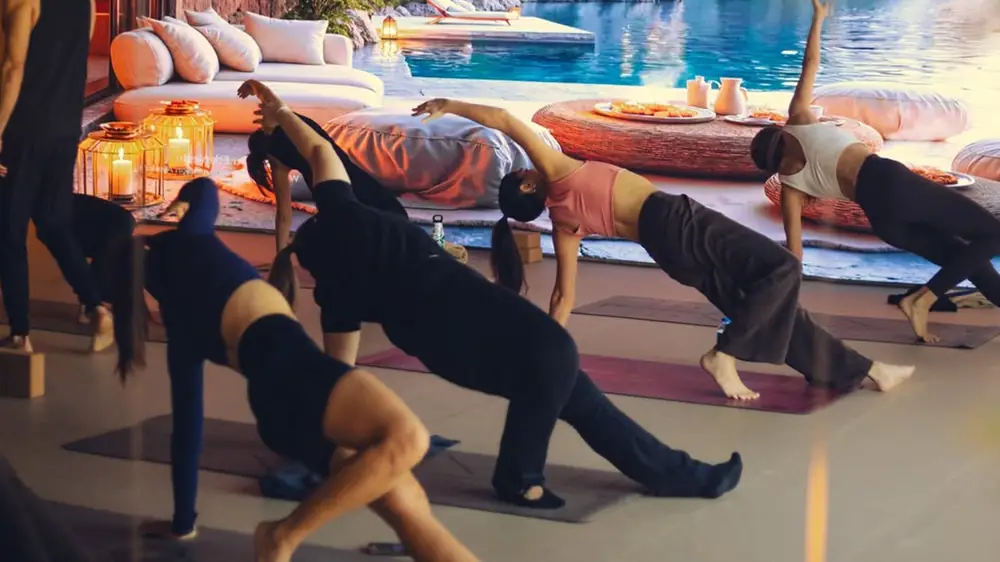
Breathing Techniques (Pranayama): A Step-by-Step Guide to 4 Methods
We explain diaphragmatic, box, nadi shodhana and 4-7-8 breathing step by step, and share which to choose in which situation along with safety notes.
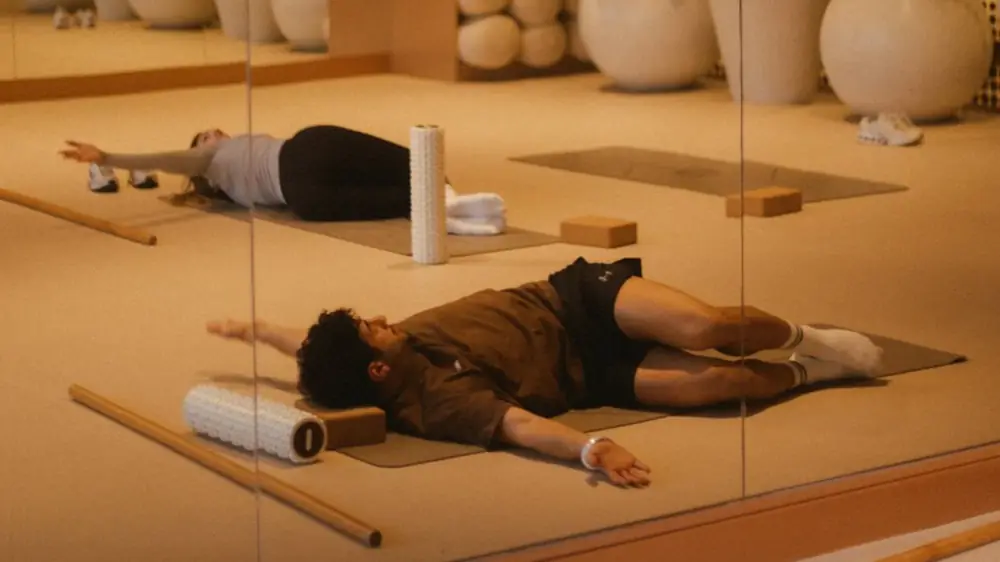
Lecture Hall Mobility: A 10-Minute Movement Series Between Classes
A ten-minute mobility series you can do in a lecture hall corridor or on a bench between classes, without changing clothes.
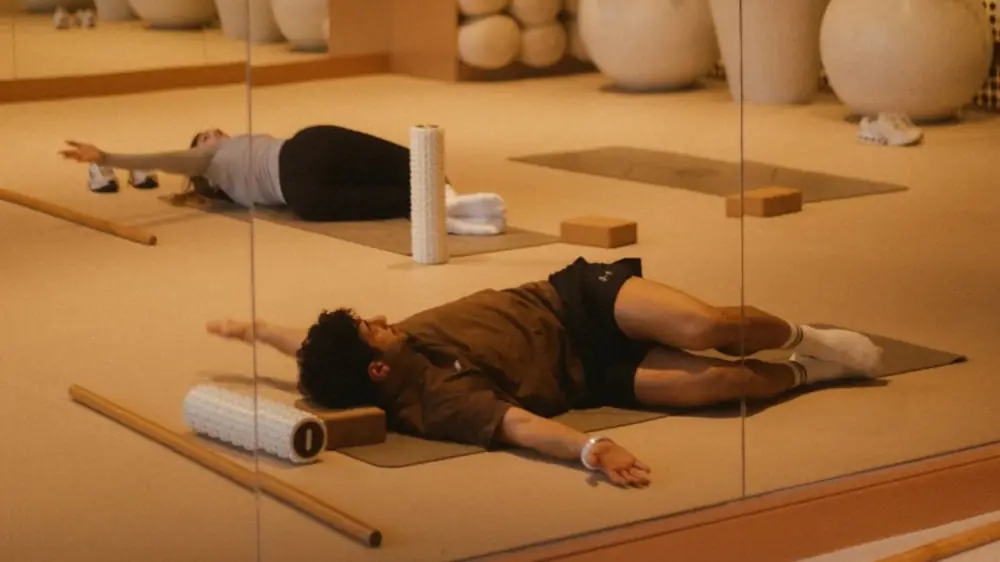
Ankle Mobility: Squat Depth and Knee Health
If your heels lift or your knees cave in when you squat, the problem may lie in your ankles. We explain how to assess and improve ankle mobility.
